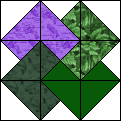
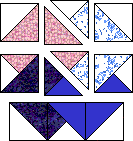
August 1999s block was a Card Trick.The finished block measures 12 inches square (12 1/2 inches unfinished). |
 |
 |
|
 |
|
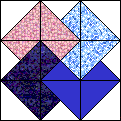
August 1999s block was a Card Trick.The finished block measures 12 inches square (12 1/2 inches unfinished). |
|
|
|
|
|
|
 |
|
 |
Your finished (unfinished) block should measure 12 1/2 inches. Be sure to leave the seam allowance on the block, DO NOT cut it to the 12 inch finished size -- as the finished measurement represents the block size after it is sewn into a quilt top. |
Back to Block of the Month | |