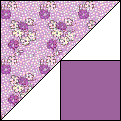
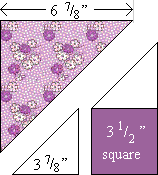
The second method uses a technique in which you don’t cut any triangles!
|
 |
- Cut one (1) 6 1/2 inch by 8 inch rectangle.
|
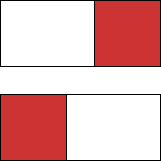
- Cut two (2) 3 1/2 inch squares of dark fabric.
- Cut two (2) 3 1/2 inch x 5 inch squares of light fabric.
- Sew together as shown to the right.
|
 |
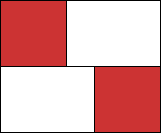 |
- Sew the two units together as shown.
|
- Turn the block over and clip the seam allowance between the dark squares. Press the seams as shown.
|
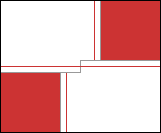 |

|
- Make a template by cutting a 6 1/2 inch square, then cutting it on the diagonal. Place the template on the wrong side of the block and mark a diagonal line with a pencil. Switch to the opposite side and do the same.
|
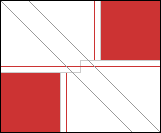 |
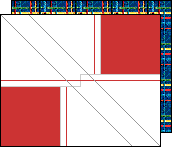 |
- Lay the pieced block, right sides together, on top of the 6 1/2 inch by 8 inch rectangle. Stitch on the drawn lines.
|
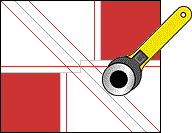
- Cut the block in half, diagonally, between the stitched lines.
You will have two blocks. Open the blocks and press seams toward the large triangle.
|
 |
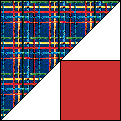 |
- Your finished (unfinished) block should measure 6 1/2 inches. Be sure to leave the seam allowance on the block, DO NOT cut it to the six inch finished size -- as the “finished” measurement represents the block size after it is sewn into a quilt top.
|
